Apply self-tanner without streaks using this step-by-step guide. Discover product types and techniques for results comparable to a professional spray tan.
As a teenager back in the early 1980s, I envied certain men on TV for their eternally deep suntans. My summer bronze was always gone by October.
So one day, I bought a bottle of self-tanner and secretly slathered it over my face and body before getting into bed. Luckily, the sheets were brown.
I imagined myself arriving at school the following morning with the same sun-kissed glow as my TV heroes.
My face was still presentable for some reason, but my body was mottled and streaked, and my hands orange with bright yellow cuticles, .
We didn’t have a shower, so I quickly washed myself down at the sink and escaped the house before my parents awoke.
The first thing I did was buy a bottle of hydrogen peroxide, but it didn’t help. It just left white blotches, which, to my relief, soon vanished.
Skipping school, I returned home after my parents had left for work and got in the tub. Scrubbing every inch of my face and body with Wright’s Coal Tar Soap and a nail brush proved an effective way of removing fake tan.
But as a black-haired, pasty-faced Celt who was often referred to as “anemic,” I didn’t give up. Nowadays, my DIY efforts rival a professional spray tan—at least to the naked eye.
And let’s be honest, at $25 to $100 per session for results that last only about four days (that’s $6 to $25 per day), a spray tan is hardly viable for an average modest man like me. Especially when a $10 bottle of self-tanning lotion containing multiple applications will do practically the same.
Of course, if you’re looking for more dramatic results, a professional tan does a better job. But to maintain a subtle glow, you can do it at home.
In this post, I’ll show you how.
Which Self-Tanner Works Best?
Most self-tanners use dihydroxyacetone (DHA), a sugar-derived compound that reacts with the outer layer of the skin to create a temporary tan. While a few alternatives exist, there are practically no realistic options for men—erythrulose, the most common substitute, is usually blended with DHA anyway.
When it comes to product types, I’ve tried mousse and spray, but always return to lotions and towelettes. Here’s why.
Mousse
This is a light, fast-drying foam, which makes it ideal pre-bedtime or before going out in the morning—it’s less likely to stain clothes and bed linen. But self-tanning mousse must be applied quickly to avoid blotches and streaks. Over the years, I’ve become pretty confident in my application technique, but this still makes me nervous.
To further complicate matters, results are generally darker. That means unevenness is more noticeable if you’re naturally pale.
Spray
Aerosol self-tanner sounds like a clever idea. In theory, it mimics a professional spray tan—but not in practice.
Having said that, indirect spraying is effective for the face and dome, but only if you’re looking for very subtle results.
Squirt a little into the air just above head height, then step into the mist. This adds warmth without yellowing gray and white hair. But this isn’t practicable for the whole body.
For even results, the skin must be sprayed directly from about six inches—any closer, and you’ll streak.
This obviously creates a great deal of mist, which stains light-colored floors, walls, shower curtains, and tiles.
And compared to mousse or lotion, it’s harder to control in terms of quantity and placement. In fact, achieving even results on your back is impossible with an aerosol.
You could go over your body afterward with a self-tanner mitt (more on that later), but sprays are so fast-drying that it would probably prove useless.
Lotion
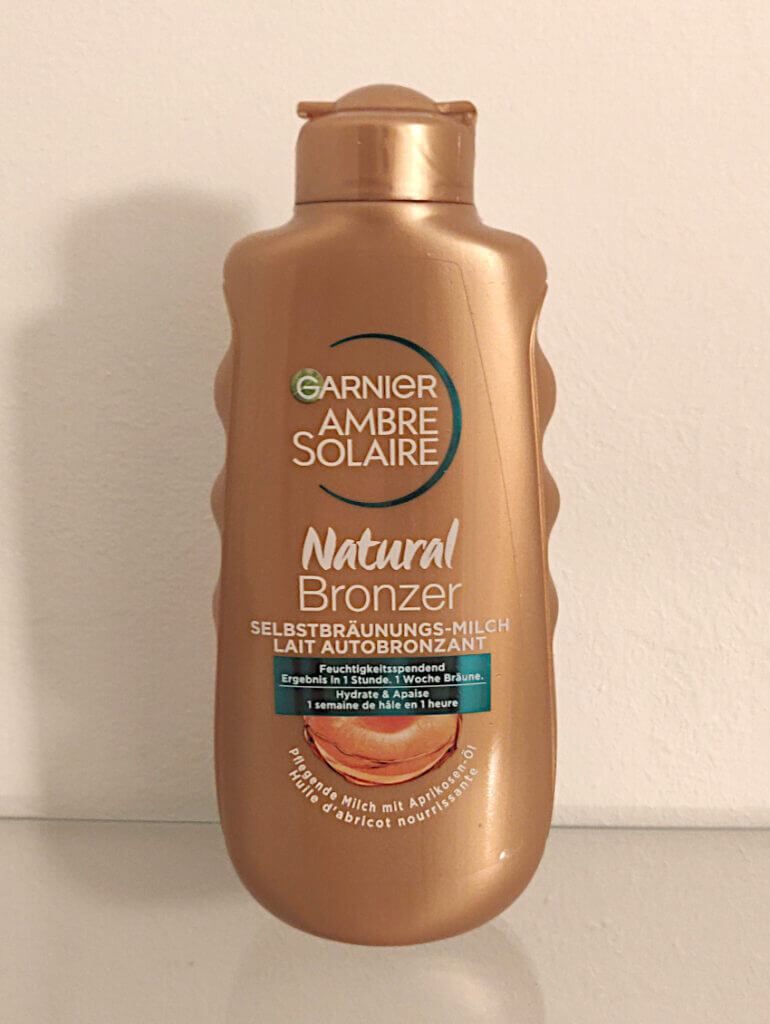
Because self-tanning lotion is slow-absorbing, it allows more time for blending. And given its moisturizing effects, it’s less likely to mottle on dry patches.
On the other hand, its slow absorption means you won’t be able to dress or go to bed immediately after applying. Product transfer isn’t good for light colored clothes and bed linen, and contact with fabric can cause of unevenness.
Before applying a self-tanning lotion, make sure you have a few hours to spare.
Tanning Towelettes
Individually packed in sachets, towelettes are basically single-use wet wipes drenched in self-tanning lotion. To cut costs, I use a generic drugstore product; it works just as well as brand names I’ve tried.
I apply towelettes from the neck up.
For the whole body, you’d need several, and because it’s difficult to know exactly when to take a new one, results may be uneven. But one is enough for the dome, face, ears, and neck.
The measure of lotion per towelette ensures that uneven results through excess product is an impossibility, as long as you’ve blended thoroughly.
Other Self-Tanner Products
I’ve tried gradual self-tanners in the form of body lotions and concentrated drops that you mix with moisturizer.
It sounds promising, but the tan disappears if you exfoliate and becomes uneven at some point if you don’t.
I’d recommend using such products as you would a regular self-tanner. But it won’t be satisfactory unless you’re very pale and want ultra-subtle results.
How Often to Apply Self-Tanner
I self-tan when my lily-white body hasn’t yet caught the sun. That means before donning shorts and T-shirts, prior to swimming, and in preparation for my annual vacation. Dating or visiting the gym could be other reasons.
But I keep my face bronzed year-round.
The secret to natural-looking results lies in application frequency. The sweet spot for me is about once every four days, but I shower and shave daily, and cleanse my face morning and night. Less grooming can preserve a self-tan for up to seven days.
Applying Self-Tanner Step-By-Step
Because towelettes and lotions are more straightforward for beginners—and because I’m more accustomed to using them—these are the products I’m focusing on in this post.
Items Needed for Self-Tanning
- An oil-free body scrub. My go-to is baking soda mixed with soap-free body wash. A body brush works just as well if you’re thorough.
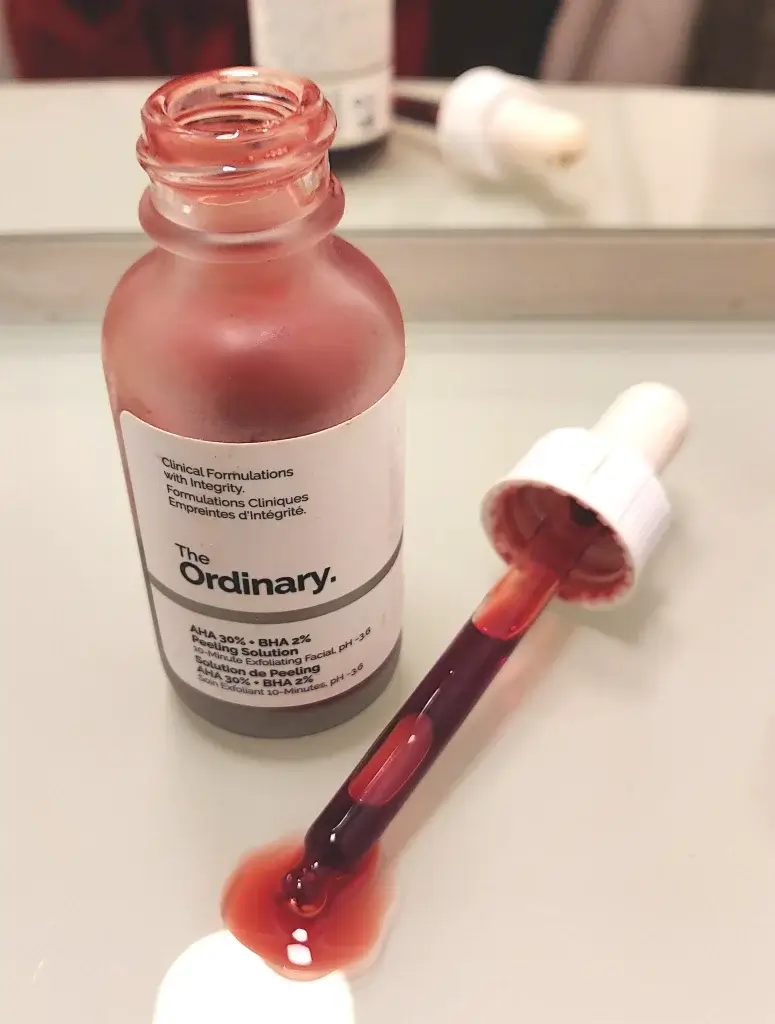
- A chemical exfoliant for the face and throat—The Ordinary’s AHA and BHA Peeling Solution is my product of choice. I use the above baking soda mix for the thicker skin of my dome and the back of my neck.
- A light, oil-free moisturizer for dry areas, especially knees and elbows.
- Self-tanning lotion for the body, either in “medium” or “dark” according to your natural skin tone.
- Self-tanning towelettes, also in “medium” or “dark” for the face.
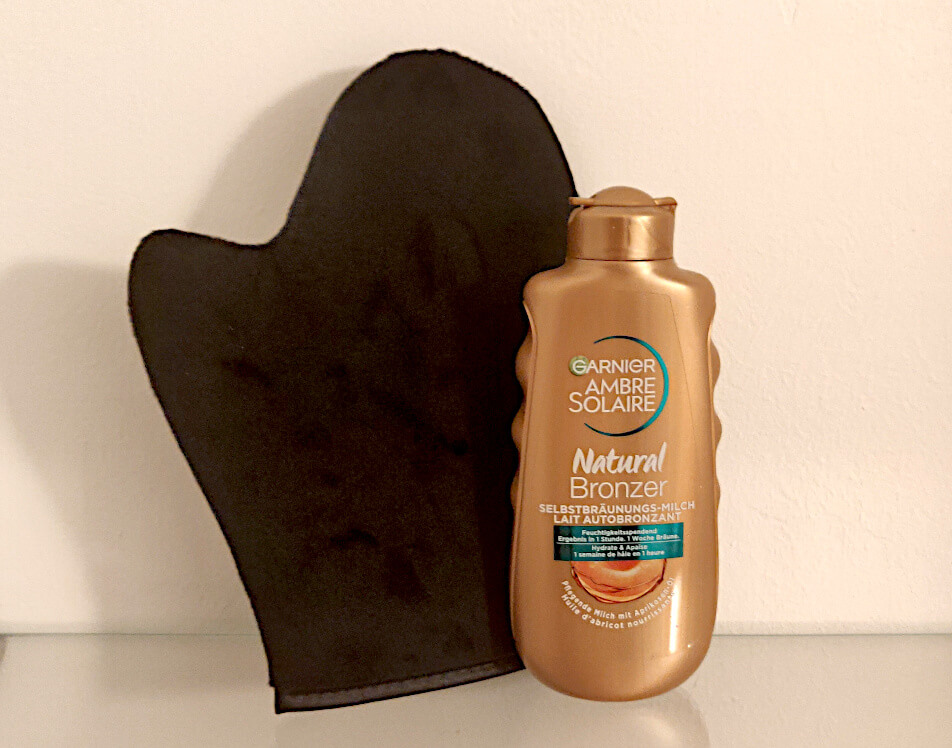
- A self-tanning mitt. This helps to properly distribute and blend self-tanner—you won’t get the same results with your bare hands. Mine is made from microfiber velvet. A soft microfiber wash mitt is an alternative, but it won’t keep the product off your hands. To remedy this, wear nitrile gloves or apply petroleum jelly to your palms, nails, and cuticles.
- A long-handled applicator for your back. I use a bath brush covered with my mitt.
- An extra hand mirror in order to see what you’re doing on your back and neck.
- A dampened facial cleansing sponge in the absence of towelettes. This allows for even results if applying regular lotion from the neck up. Dampening prevents excessive product absorption and ensures a smooth glide.
- A dark bathmat.
- Lip balm to shield your lashes and brows if you’re blond or white-haired. This enables exact application. For mustaches, beards, and sideburns, petroleum jelly applied with the finger works well.
- Pomade, beard balm, or beef tallow balm to protect the hairline for light-haired men.
Preparation
1. Exfoliate
Exfoliate 12-24 hours before self-tanning, paying particular attention to the hollows of your ankles and throat. This is sufficient time for your skin to recover from micro-abrasions and produce enough sebum to benefit glide.
2. Moisturize
Apply a light, oil-free moisturizer to your knees, elbows, ankles, and other dry areas 15 minutes before applying self-tanner.
3. Prepare Your Application Mitt (Optional)
For improved blending and glide, lightly mist your application mitt with water and blot on a towel so that it’s only minimally damp. This step is optional, but recommended for beginners.
Your skin, however, should be completely dry.
Application
4. Apply Product to the Application Mitt
For each body area, apply a quarter-sized amount of self-tanning lotion directly to the mitt. This means for each leg, each arm, the back, and the chest and belly.
5. Apply Self-Tanner to Each Body Area
Roughly distribute the product over the given body area. Spread it out quickly to ensure full, even coverage, then massage in circular motions. For legs and arms, work from ankle to thigh and wrist to shoulder. For the torso, blend from the shoulders down.
If using your bare hands, wash thoroughly with soap and water after treating each area.
6. Apply to the Face, Dome, and Neck
With a Tanning Towelette
As a young, dark-haired man, I was able to go over my face and neck with tanning towelettes however I pleased.
My mustache and brows are still dark, but I’ve lost most of my scalp hair. I now have a horseshoe fringe that is largely gray and white. Preventing a yellow tinge requires precision, which towelettes provide; I can easily trace around the hairline without touching the hair. But if my mustache were white, I’d probably protect its contours with petroleum jelly, beef tallow balm, or lip balm—the same for my brows.
That aside, be sure to apply the towelette to every crevice, whether the inner corners of the eyes, the nasolabial folds, around the nostrils, or the intricacies of the ears.
Once you’re finished, use the same towelette to blend the area between the body and neck. Then sweep from the wrists and ankles to the backs of the hands and feet without going into the fingers and toes.
With a Sponge
Wearing nitrile gloves, spread a pea-sized amount of self-tanner lotion over a dampened facial cleansing sponge (available on Amazon) and roughly distribute over your dome, face, and neck. Spread quickly for coverage, then massage in circular motions, working systematically from the neck up or the scalp/forehead down.
Sponges lack the precision of towelettes; light-haired men should therefore shield the hairline. For this, I recommend pomade, beard balm, or beef tallow balm applied directly before the treatment. Petroleum jelly is too difficult to remove from scalp hair.
Finally, as with towelettes, blend between the body and neck, and from the limbs toward the extremities.
7. Final Blend
The face and neck should take 5-10 minutes to complete, allowing ample time for the lotion on your body to settle.
Revisit each area one more time with the mitt, paying particular attention to creases and folds where excess product tends to collect.
If you’ve used lotion rather than a towelette for your face, do the same here with the sponge—especially in crevices and lines.
This is also the time to remove remaining lip balm or petroleum jelly from facial hair. Use a cotton pad and be careful not to disturb the surrounding skin. Having said that, petroleum jelly is ideal to protect facial hair from pillow friction and breakage whilst sleeping.
8. Wait
As previously mentioned, this is the greatest disadvantage of lotion—due to transfer risk, you’ll need to wait a while before getting dressed or going to bed.
My rule of thumb is 90 minutes, but some suggest 30 minutes before dressing and up to two hours before sleeping.
While waiting, I relax in a dark cotton robe.
Showering
If after eight hours your tan is as desired, don’t bathe or shower for 24 hours. In case you must, use plain water, avoiding cleansing products.
If the tan is a little uneven, shower with a soap-free body wash. This evens out tone without lifting the tan completely.
Removing a Fake Tan
In a worst-case scenario like the one described earlier, you’ll need to remove your tan.
I’ve tried pads, wipes, and foams available online for this job, but found none to be effective.
Body scrubs or a bath brush work best—and if you remember, the nail brush worked, too. A firm rubdown with a dark towel finishes the job.
On my face, I never use mechanical exfoliants like the previously mentioned baking soda mix. But this situation would be the exception.
© 2025 J. Richardson
Related Posts
Disclaimer
The information provided by The Neat and Tidy Man (“we,” “us,” or “our”) on theneatandtidyman.com (the “site”) is for general informational purposes only. While we endeavor to keep the information up to date and correct, we make no representation or warranty of any kind, express or implied, regarding the completeness, accuracy, reliability, suitability, adequacy, validity, or availability of any information on the site. Under no circumstance shall we have any liability to you for any loss or damage of any kind incurred as a result of the use of the site or reliance on any information provided on the site. Your use of the site and your reliance on any information on the site is solely at your own risk.

