Learn how to shave with a safety razor for a smooth and irritation-free experience. Say goodbye to razor burn and hello to a clean shave.
When I first started to shave at 13, I secretly borrowed my father’s shaving gear. I guess he must have noticed, because it wasn’t long before he presented me with my very own safety razor, shaving brush, and shaving soap, neatly packaged in a stoneware lathering bowl that I still use today.
This I proudly placed beside his in our bathroom.
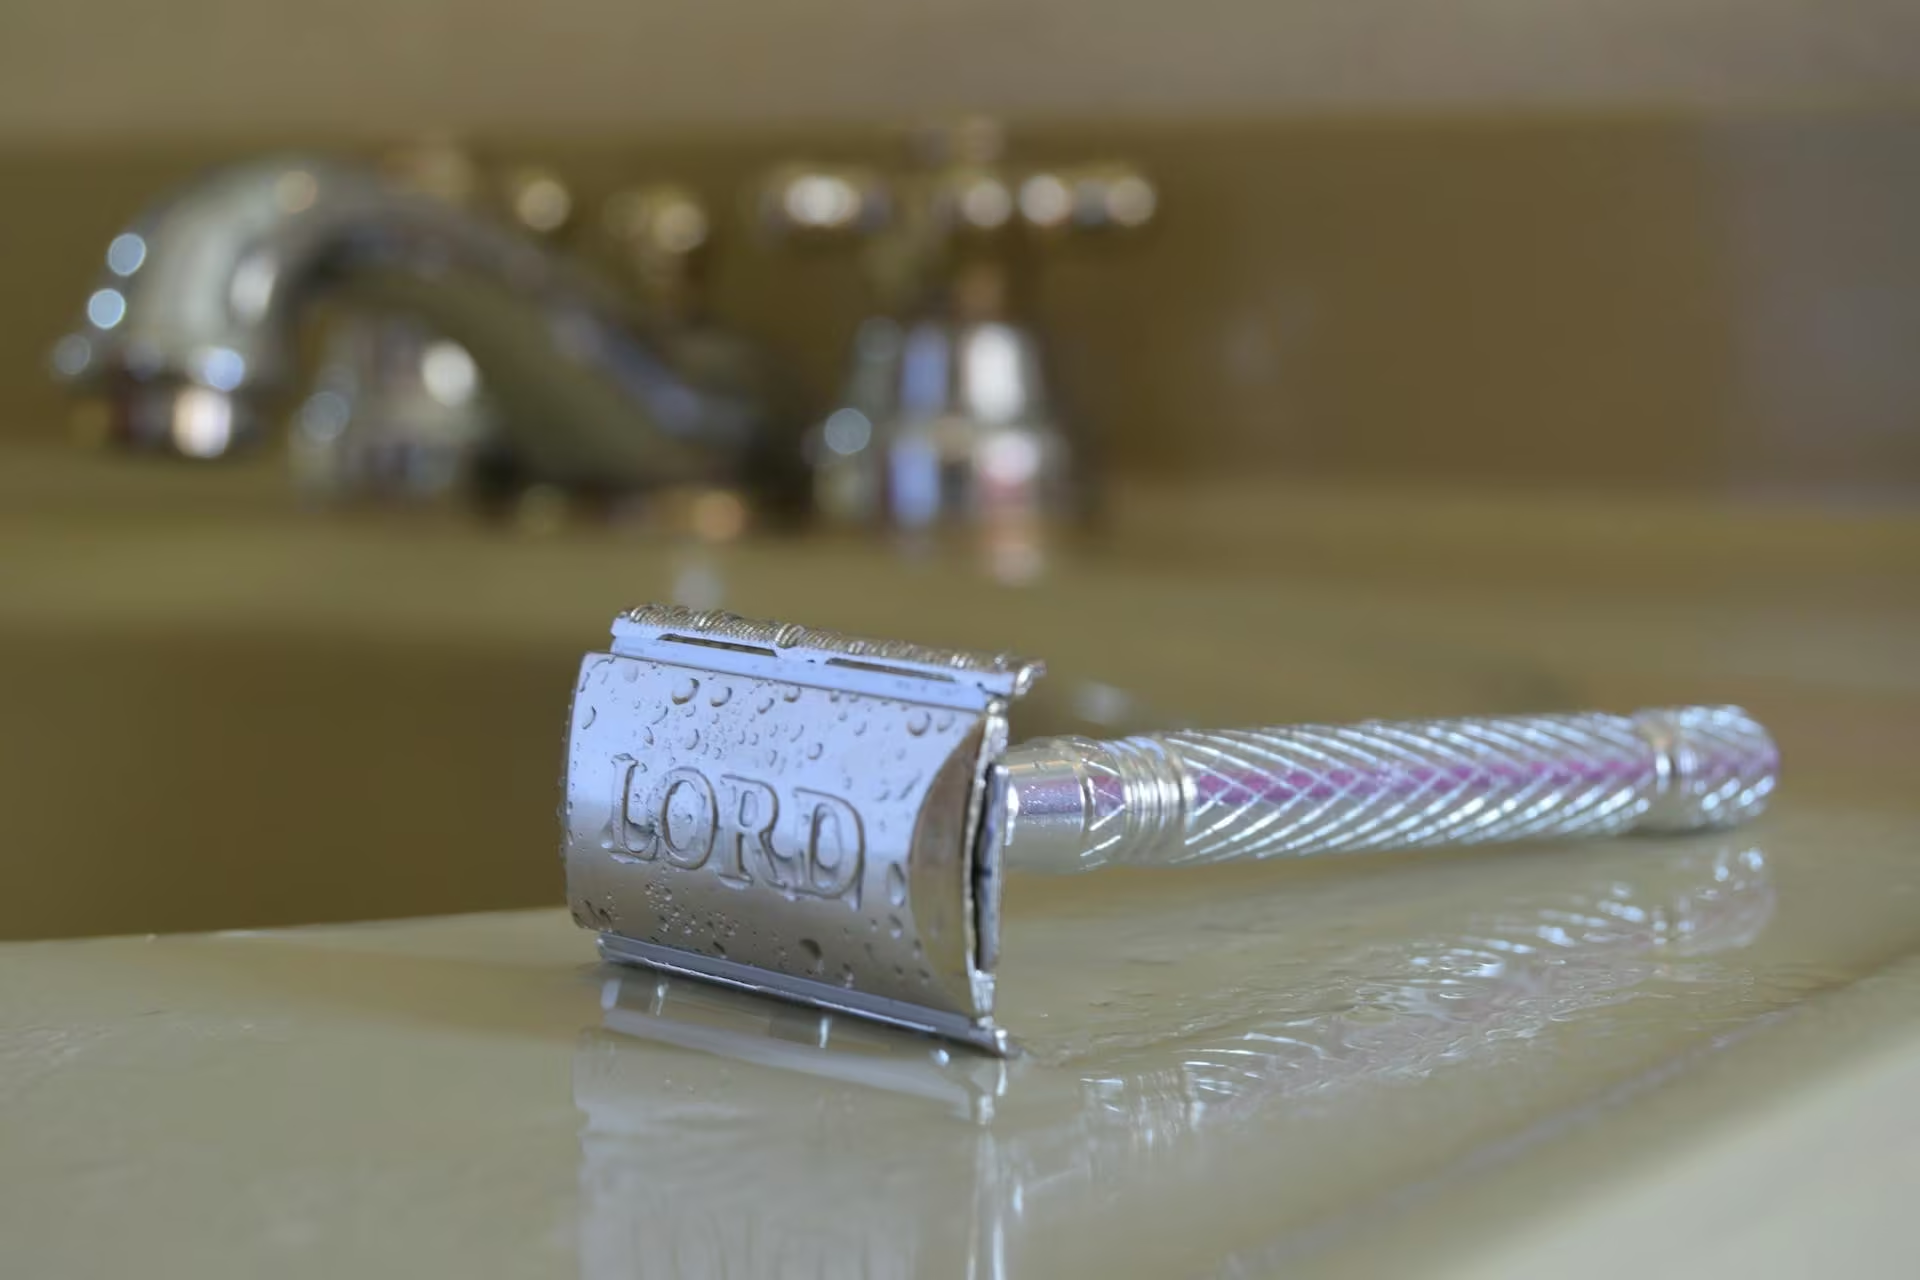
With only a couple of exceptions, I’ve never deviated from the safety razor, which, when used correctly, offers a truly superior and satisfying shave.
We’re not, of course, talking about disposable plastic razors, but sturdy tools made of metal.
In this post, I’ll be concentrating on the classic double-edge razor, but most of the information provided can also be applied to adjustable and single-edge models.
Is Shaving With a Safety Razor Better?
Skin Health
Because multi-blade cartridges shave closer to the skin than safety razors, they’re more likely to cause razor bumps (ingrown hairs) and burn.
Having a tough beard and strong shadow, I once decided to hazard the risk, expecting results similar to those achieved by my barber and his straight razor.
But the shadow remained as prominent as ever, and by the time I’d used up the cartridges contained in the starter pack, my well-cared-for skin no longer seemed as polished and even-toned. Although painless, there was always a pink blotch or two somewhere on my beard area. I’d never experienced this with a safety razor, not even after a three-pass shave.
Basically, I was sacrificing healthy-looking skin for a closer shave that wasn’t even perceptible to the naked eye.
For men with flaky skin, you’ll notice that a safety razor is less likely to clog than multi-blade cartridges.
Cost
Then there’s the cost factor.
The business model is to price a set of new cartridges far higher than a starter kit, which usually contains one razor and two replacement cartridges.
Double-edged blades sell for mere pennies.
For young and often cash-strapped acne sufferers, a safety razor is gentler on the skin, and you can hygienically change the blade daily without worrying about your budget.
A good safety razor won’t cost you a fortune, either. I paid less than $15.00 for my perfectly weighted and balanced Gillette model, and it’s lasted years.
Avoiding Cuts and Nicks With a Safety Razor
Countless men have told me they cut themselves when shaving with a safety razor.
I don’t cut myself. Maybe a nick on very rare occasions, but nothing more. I’ve never even had to buy a styptic pencil, and my father certainly didn’t include one in the shaving kit he bought me when I was 13.
This is the way it’s always been—except for once.
Instead of buying my usual shaving soap stick, I decided to try out a can of shaving foam. I thought it would save me having to lather up with a brush. Consequently, I ended up with several cuts.
To avoid cutting yourself, a brush is imperative when using a safety razor.
Apart from creating a lather, it lifts the hair so as the blade can cut through it with less pressure and minimal skin contact.
A brush also works as an exfoliating and cleansing tool. As such, you can skip washing your face prior to shaving.
Brushes are available in all price categories. Most popular are those made from badger hair due to their ability to hold water. I use a synthetic model by Kent with equally good results and zero shedding.
Preparing Your Skin
Cleansing and Water Temperature
My barber gives his customers a hot shave for its luxurious, feel-good factor. But through experimentation, both he and I realize this is not necessary.
So, in spite of popular advice, there’s no need to take a warm shower before shaving:
- Cold water achieves closer results since it contracts the skin, causing hairs to stand more readily than with a shaving brush alone.
- A cold blade performs better due to steel shrinkage, cutting more cleanly.
- As already mentioned, a shaving brush cleanses and exfoliates pre-shave.
- A post-shave shower clears away irritating soap debris more thoroughly than a splash of water at the washbasin.
Pre-Shave Oil
If your face is dry, sensitive, or acne-prone, try a pre-shave oil.
As well as offering extra lubrication for a smoother shave, it creates a protective barrier between you and your shaving soap, this being a major irritant for problem skin.
You don’t have to buy a product labeled “pre-shave oil.” Plain jojoba will do the job just as well. This mimics natural sebum and is noncomedogenic, meaning it won’t block pores and aggravate acne.
To apply, simply massage a couple of drops into the beard area before lathering up.
Start Your Pre-Shave Preparation the Night Before
My nightly skin care routine is also part of my pre-shave preparation.
As a mature man, I suffer from dryness. For this reason, I always cleanse and moisturize at night. I apply a heavy night cream plus a layer of petroleum jelly or beef tallow for a process known as “slugging,” which intensifies hydration.
This leaves my skin adequately clean for my morning shave as well as eliminating the need for a protective oil.
Lathering Up With a Shaving Brush
Canned shaving foams and gels are formulated for application with the fingers. Because they do not work well with a brush, they are unsuitable for shaving with a safety razor.
You’ll therefore need a shaving soap, which is available as a cream in a tube or as a solid mass in the shape of a stick or tablet. The latter is most often sold in plastic bowls or with shaving mug sets.
I favor a stick by the Turkish brand Arko. Just as my father taught me, I apply it directly to my dampened face, then go over it in circular motions with a wet shaving brush until a rich lather forms.
Shaving cream from a tube can also be applied directly to the face, or to the brush. Or you can whip it up in a shaving bowl or mug before brushing it into your beard which, of course, is the only way of lathering a solid tablet.

How to Shave With a Safety Razor Step By Step
Now that you’ve properly prepared your skin and created a good lather, you can begin to shave.
1. Wet Your Safety Razor Before Shaving
We’ve already discussed water temperature. I use cold, running water. Some men prefer to fill the washbasin.
Regardless of how you do it, the blade must be wet throughout your shave.
2. Begin Your Shave at the Cheeks
Set the razor where your sideburns end at a 30-degree angle to your face. This allows optimal cutting efficiency.
Slide the razor downwardly with the grain (in the direction of growth). Avoid pressing; let the weight of the razor do the work. This way, there will be no irritation.
If necessary, use your free hand to hold your skin taut. This is something I’ve never had to do.
If you want a two-pass shave, slide the razor upwardly against the grain with the clean side of your double-edge blade.
Proceed in this fashion until you reach the corners of your mouth.
Allow each side of the blade only one pass before rinsing.
3. Shave Your Neck and Adam’s Apple
In the same way as you shaved your cheeks, begin beneath the outer jaw, systematically shaving with the grain until you reach the area below the chin.
Personally, I’m in the habit of shaving my neck upwardly in one pass against the grain, but be aware that this may cause razor bumps and burn. You should always work with the grain on the first pass.
If you have a prominent Adam’s apple, as I do, swallow hard to move it out of the way. You’ll see that it rises and practically disappears. For beginners, the difficult part is holding the position for the required second or two.
My barber tells me that many men squirm at the thought of shaving their Adam’s apple with a safety razor, although the risk of cutting is no greater than with a cartridge.
4. Shave Your Upper Lip
I’ve worn a mustache since my mid-teens, so this is something I’ve rarely done.
Because facial hair is somewhat tougher in this area, leave it until after you’ve shaved your cheeks and neck. This allows the shaving soap time to do its job.
Shave with the grain, starting at the center beneath the nose and working outwardly.
5. Shave Your Chin
Hair is toughest at the chin, which is why you should leave it until last.
Because of diagonal and horizontal rather than vertical hair growth in this area, I find shaving with the grain awkward. And due to a strong curve in my profile, I do less damage if I shave upwardly against the grain directly beneath the lip.
I also need to contort my mouth in order to create a smooth surface for the razor to glide across.
If there’s going to be a nick, this is where it will be.
6. Check for Remaining Stubble
Rinse your face with your hands and feel for remaining stubble.
I nearly always find some below my chin, which I then shave with several light strokes against the grain.
7. Clean Your Razor
When you’ve finished shaving, run the razor under cold water, removing debris with a nail brush.

Aftercare and Your Post-Shave Routine
As already mentioned, I take a cold shower after shaving, during which I cleanse my face with a mild, soap-free wash lotion.
I then moisturize.
Avoid astringent or alcohol-based products post-shave. But a soothing aftershave balm or lotion can calm the skin and reduce redness or irritation. Look for anti-inflammatory ingredients like aloe vera or chamomile.
If you experience razor burn, try a cold compress of water mixed with baking soda.
Having said that, I must reiterate that I, personally, have never experienced irritations after shaving with a safety razor.
How Often Should You Change the Blade of Your Safety Razor?
Shaving with a dull blade can result in nicks, razor burn, and an uneven shave.
As a rule of thumb, change the blade once a week. Or sooner if you sense tugging.
After removing the old blade, clean the razor thoroughly with a mild soap and nail brush before inserting the new one.
© 2025 J. Richardson


